Its that time of year when the weather is perfect, everything is green and blooming and you can't help but be outside! More and more I find I'm turning into my parents, I always hated gardening when I lived at home and now I'm excited, giddy even, to be outside feeling the dirt in my hands and cultivated those tender little plants. My garden is pretty tiny, I only have room for a few things but its my small oasis. Here's how its looking so far.
Strawberries! Can hardly wait for these guys!
Three rows of lettuce turned out to be way more than I could ever possibly use! But oh, so tasty!
The onions were here when we moved in and always look so pretty!
Turns out I have a peach tree in my back yard. Who knew!?
This is not actually in my garden but I just love all the mushroom growing here. I feel like there should be tiny little gnomes living in there!
Well, that's my garden for now, I'm sure you'll be seeing more of it in the future. Thanks for stopping by!
~Merry
Tuesday, May 26, 2015
Thursday, May 21, 2015
What I love about Etsy
Hello!
Its that random time again for a round up of some of my recent Etsy favorites. I hope you enjoy!
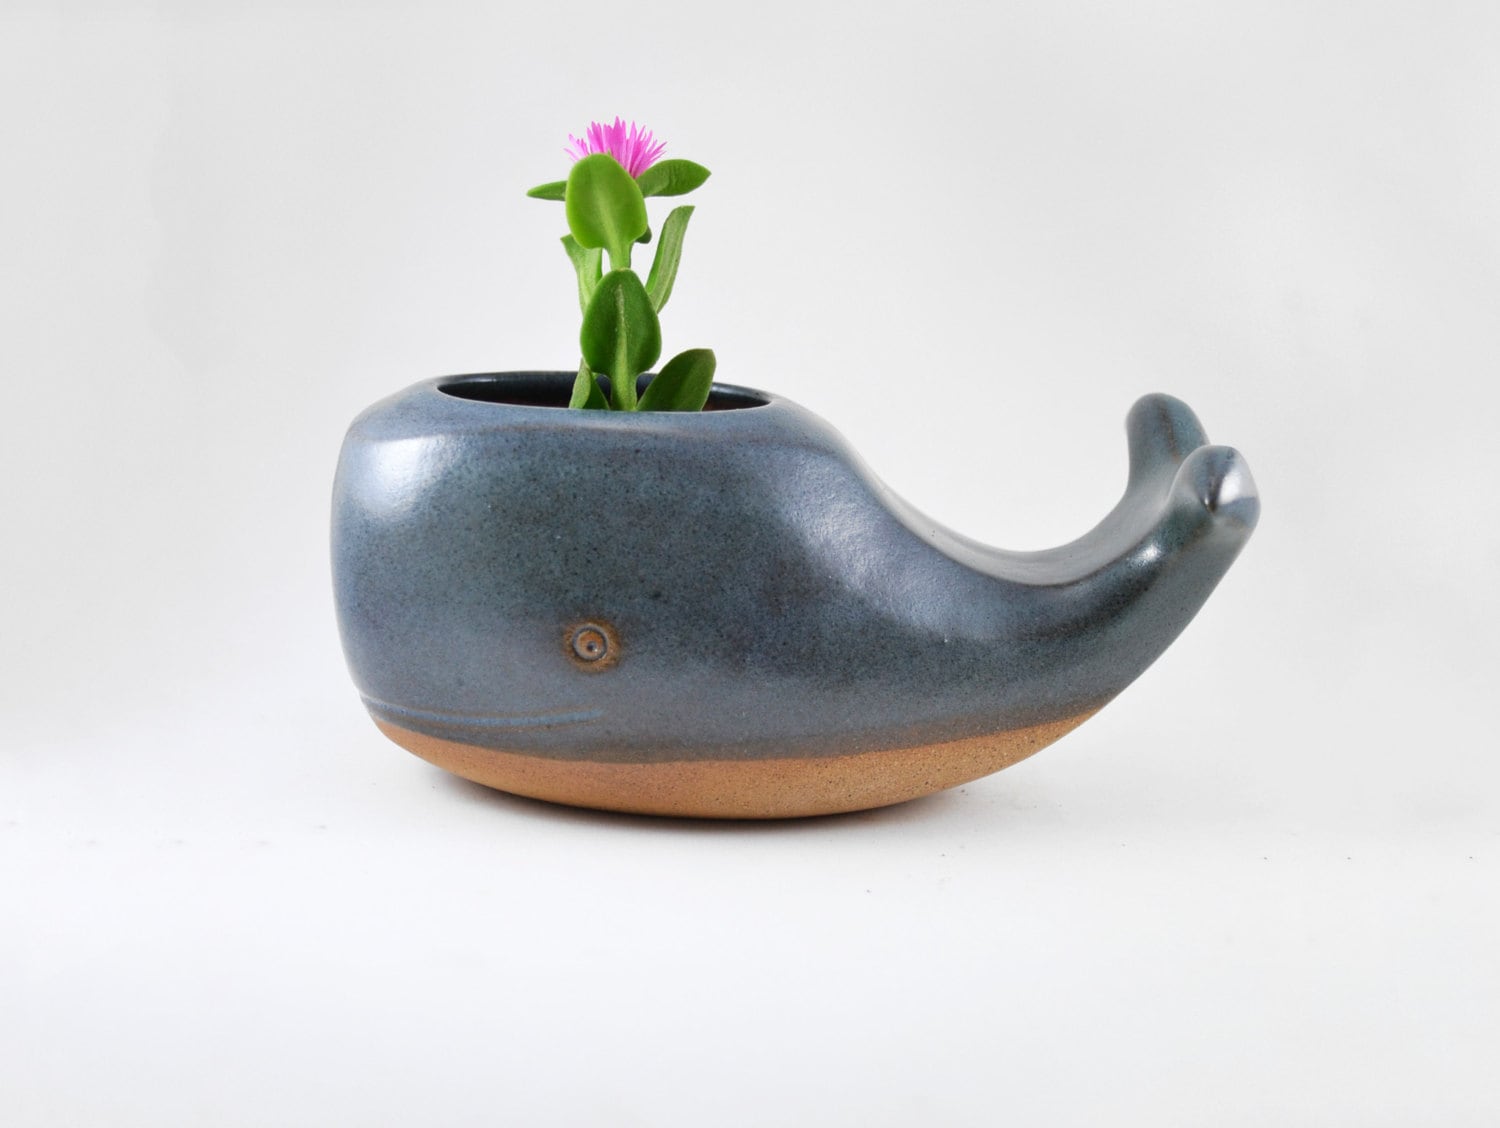
Of course I have this thing for planters so I have to include at least one. This one from Cumbucachic is so stinkin' cute I can hardly stand it!
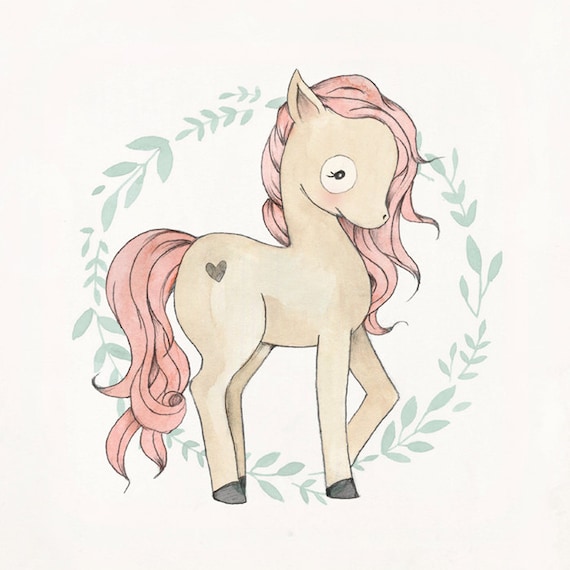
Kelli Murray's prints are incredible! I'm pretty sure I need one of each of them! But first this pony.
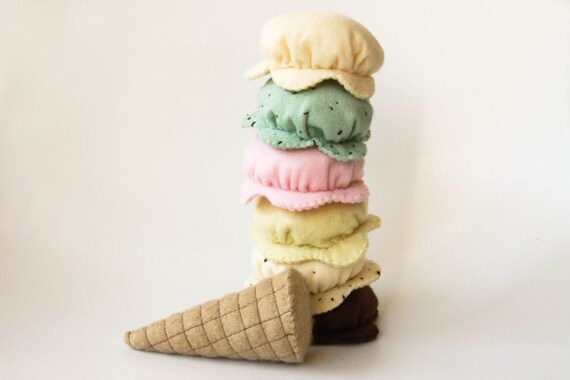
And because who wouldn't want some felt icecream! From Made by Claire Louise
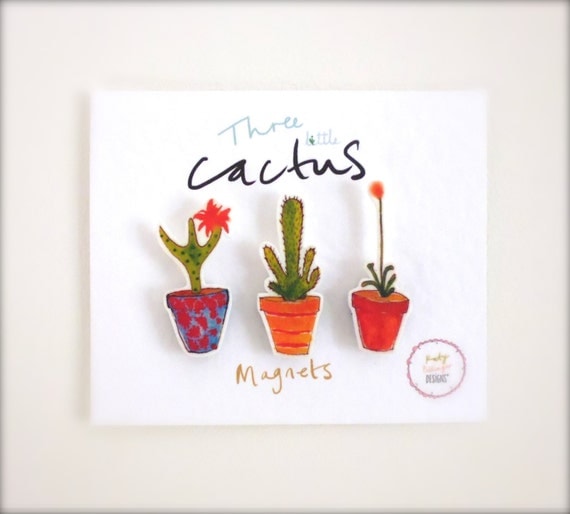
Cactus magnets from Katy Pillinger Designs, yes please!
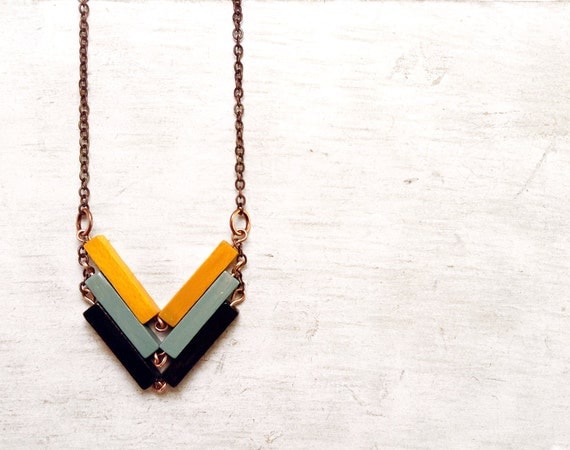
A simple geometric necklace to top it off. By Valentino Landia.
Thanks for reading!
~Merry
Saturday, May 2, 2015
DIY Cloth Napkins
As a stay at home mom living on one income I'm always looking for ways to be thrifty without being stingy. I want to be creative and fun, not that person that recycles used underwear into cleaning rags ( if that's you, don't be offended its just not my cup of tea ).
One of my favorite things to do is to make my own napkins. I know paper napkins really aren't that much, but never the less, cloth ones are reusable and SO much prettier! So, here is how I made my own for $1.50 each.
First of all you'll need to gather a variety of fat quarters from your local fabric store, I got mine from Jo-ann Fabrics. I make mine double sided for durability and variety, so you'll want to buy two fat quarters per napkin.
Step one: You'll need to make sure each fat quarter is perfectly square, so lay them out flat, measure all four sides to the same length and trim
.
Step two: Once you have all your fabrics trimmed to the same size, decide which two you want to go together, you can either do contrasting colors or keep them the same. Now, with right sides together pin the two pieces together and stitch all the way around about 1/4 inch away from the edge. Be sure to leave about a two inch space for turning.
Step three: Once you've finished sewing, trim the points off the corners and turn right side out. Next you'll want to iron all your seams flat so that the napkins lay nicely.
Step four: Almost done! All that's left now is to hand stitch the opening closed and step back to admire your work! Aren't you proud? Now take a little picnic or host a brunch and show off your new napkins!
Subscribe to:
Posts (Atom)


